Android is getting pretty big these days as most everyone can tell, and that’s fueling the Android app market big time. One app I’ve found myself using a lot lately is the WordPress App. for Android (hmm imagine that!) It’s a great app for all of us bloggers out there who need to update articles or comments on the run. Today I’m going to give you a full screenshot tour of the App, as well as the basics of how to set it up to get you groovin’ with Android and WordPress.
Go to the Android Market from your device and search for “wordpress,” the top result should be WordPress by Automattic, Inc. Alternatively, you can use a barcode scanner on your device and scan the QR code to the right; this will take you directly to the app.


Step 2 – Install the App
Just tap Install

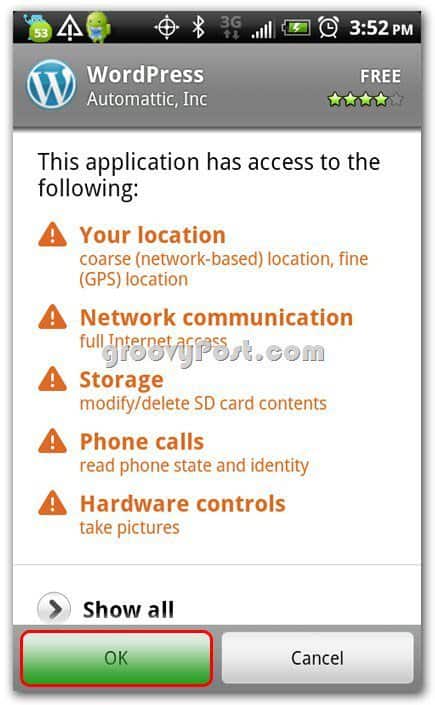
Allow the app to have access to the needed systems by tapping OK
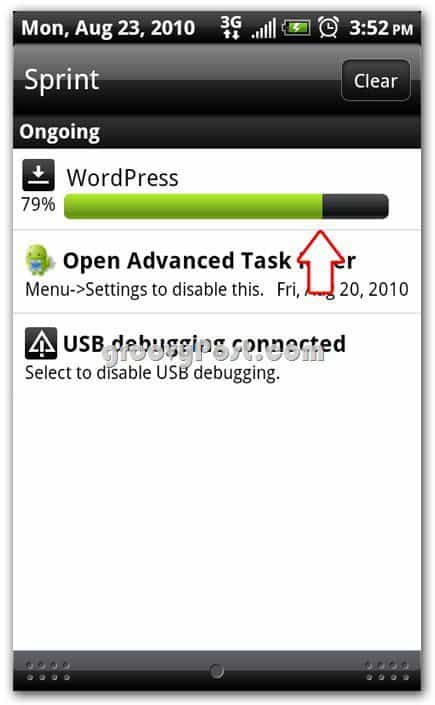
You can pull down your shade and see it installing; I like doing that
Step 3 – Open the App and Configure
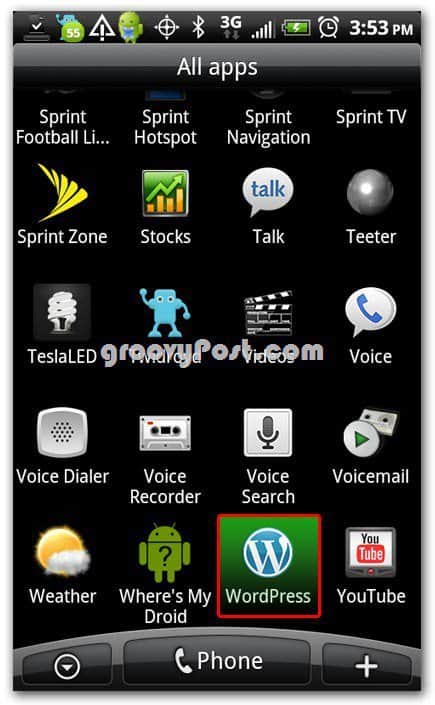
Scroll down in your apps and find the WordPress icon; tap on the WordPress icon
Pretty

Accept License Agreement by tapping Accept

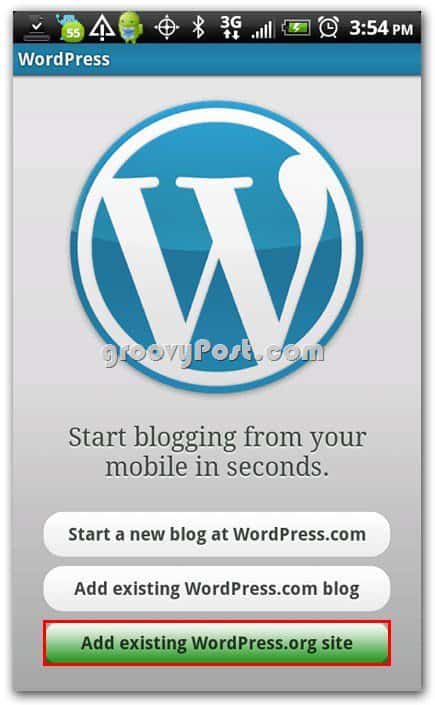
Now you’re presented with several options. You can Start a new blog at WordPress.com, Add existing WordPress.com blog, or Add existing WordPress.org site. These can be confusing if you’re not super up on how WordPress operates.
If you have a HOSTED WordPress blog and you log in from wordpress.com, then you can use the Add existing WordPress.com blog option.
If you have your own website hosted somewhere other than WordPress.com you most likely are going to use the Add existing WordPress.org site option.
For this tutorial we’re using our self-hosted WordPress, so we’re logging into this as Add existing WordPress.org site
Input your account details: Blog URL, username, password – then tap save

And it’s ready for use!!!
